Arduino Tutorial
This section provides a step-by-step guide to assist in creating and understanding the key points of a basic Safe DDS application using the Arduino environment.
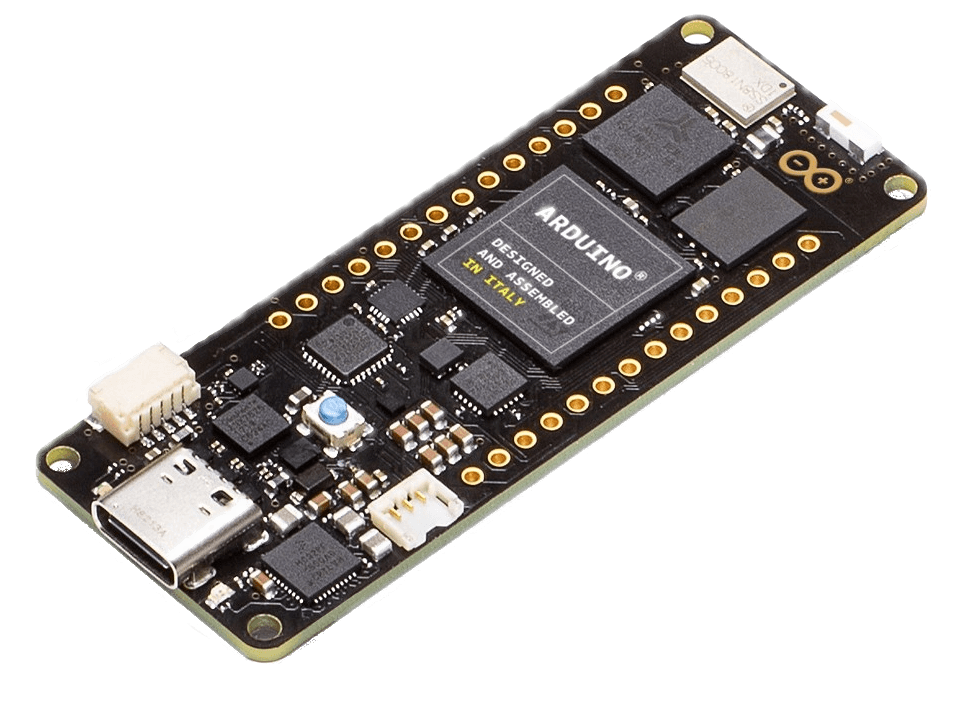
This project has been tested on the Arduino Portenta H7 board with Arduino IDE 2.3.5, Arduino Mbed OS Portenta Boards 4.2.4 board support package, and its built-in ARM mbed-RTOS. Check Supported platforms for more information.
Note
This guide might require adaptations to work with a different hardware or Arduino software version.
In order to get support please contact support@eProsima.com.
Note
It is recommended to first read the Getting Started section to gain a better understanding of the basic concepts and terminology used in this section.
Project Configuration
This section describes how to configure an Arduino project that uses the Safe DDS library.
1. Add Safe DDS library to Arduino
Start by creating the Safe DDS library for Arduino and adding it to the Arduino libraries folder:
Navigate to the Arduino support package folder and run the create_package.sh script followed by the path to the Safe DDS source release folder. This script generates the required files for Safe DDS to be used as a library by Arduino.
Copy the generated safedds_arduino folder to the Arduino libraries folder in your system. This folder is generally found in the following paths:
Linux: ~/Arduino/libraries
Windows: C:\Users\<username>\Documents\Arduino\libraries
macOS: ~/Documents/Arduino/libraries
2. Create a new project
Then, create a new sketch in Arduino with Safe DDS.
Open the Arduino IDE.
Create a new sketch.
Select the board and port if the board is connected. Or select the board model in Tools > Board if you don’t have a board available at the moment.
Include the Safe DDS library by selecting Sketch > Include Library > safedds_arduino, or by adding the following line at the beginning of the sketch:
#include <safedds_arduino.h>
By this point, the Safe DDS library should compile successfully by clicking the Verify button.
Safe DDS application
The next step is to write the Safe DDS application:
1. Add the application files to the project
Select the Sketch > Add File option in the Arduino IDE and add the following files from the tutorial_arduino example folder:
SafeDDSApp.cpp
SafeDDSApp.hpp
HelloWorldTypeSupport.hpp
2. Configure the Safe DDS application
With all Safe DDS files in place, the main .ino file of the application can be written as follows.
On the setup() function firstly connect to a WiFi network. Once the device is connected, create a new instance of the SafeDDSApp class with the assigned IP address.
On the loop() function call the spin() method of the SafeDDSApp object.
#include <safedds_arduino.h>
#include "SafeDDSApp.hpp"

SafeDDSApp* safedds_app = nullptr;

void setup() {

    // ...
    // Initialize serial and wait for port to open
    // ...

    // ...
    // Set credentials and connect to WiFi
    // ...

    // Set the announced locator port
    uint32_t port = 8000;

    safedds_app = new SafeDDSApp(ip_address, port);
}

void loop() {

    safedds_app->spin();
}
Running the application
Build the application using the Verify button in the Arduino IDE.
Upload the application to your board using the Upload button.
Open the serial monitor to see the output of the application.
Run the Getting Started example in your local machine on the same network as the device. The console output should show messages similar to the following:
[DW: 0] Message: HelloWorld with index: 2
[DW: 16777216] Message: Hello World from Arduino! with index: 6
[DW: 16777216] Message: Hello World from Arduino! with index: 7
[DW: 0] Message: HelloWorld with index: 3
[DW: 16777216] Message: Hello World from Arduino! with index: 8
[DW: 16777216] Message: Hello World from Arduino! with index: 9
[DW: 0] Message: HelloWorld with index: 4
[DW: 16777216] Message: Hello World from Arduino! with index: 10
[DW: 16777216] Message: Hello World from Arduino! with index: 11
Note
The Arduino Portenta H7 board’s WiFi handler may fail to properly receive or send some messages. Despite the application’s reliable configuration, message loss occurs. Adjust the datawriters’ heartbeat periods to values that better accommodate the publication rates so that data retransmissions can take place.