STM32CubeIDE Tutorial

This section serves as a comprehensive guide to assist in creating and understanding the key points of a basic Safe DDS application using STM32CubeIDE tool.
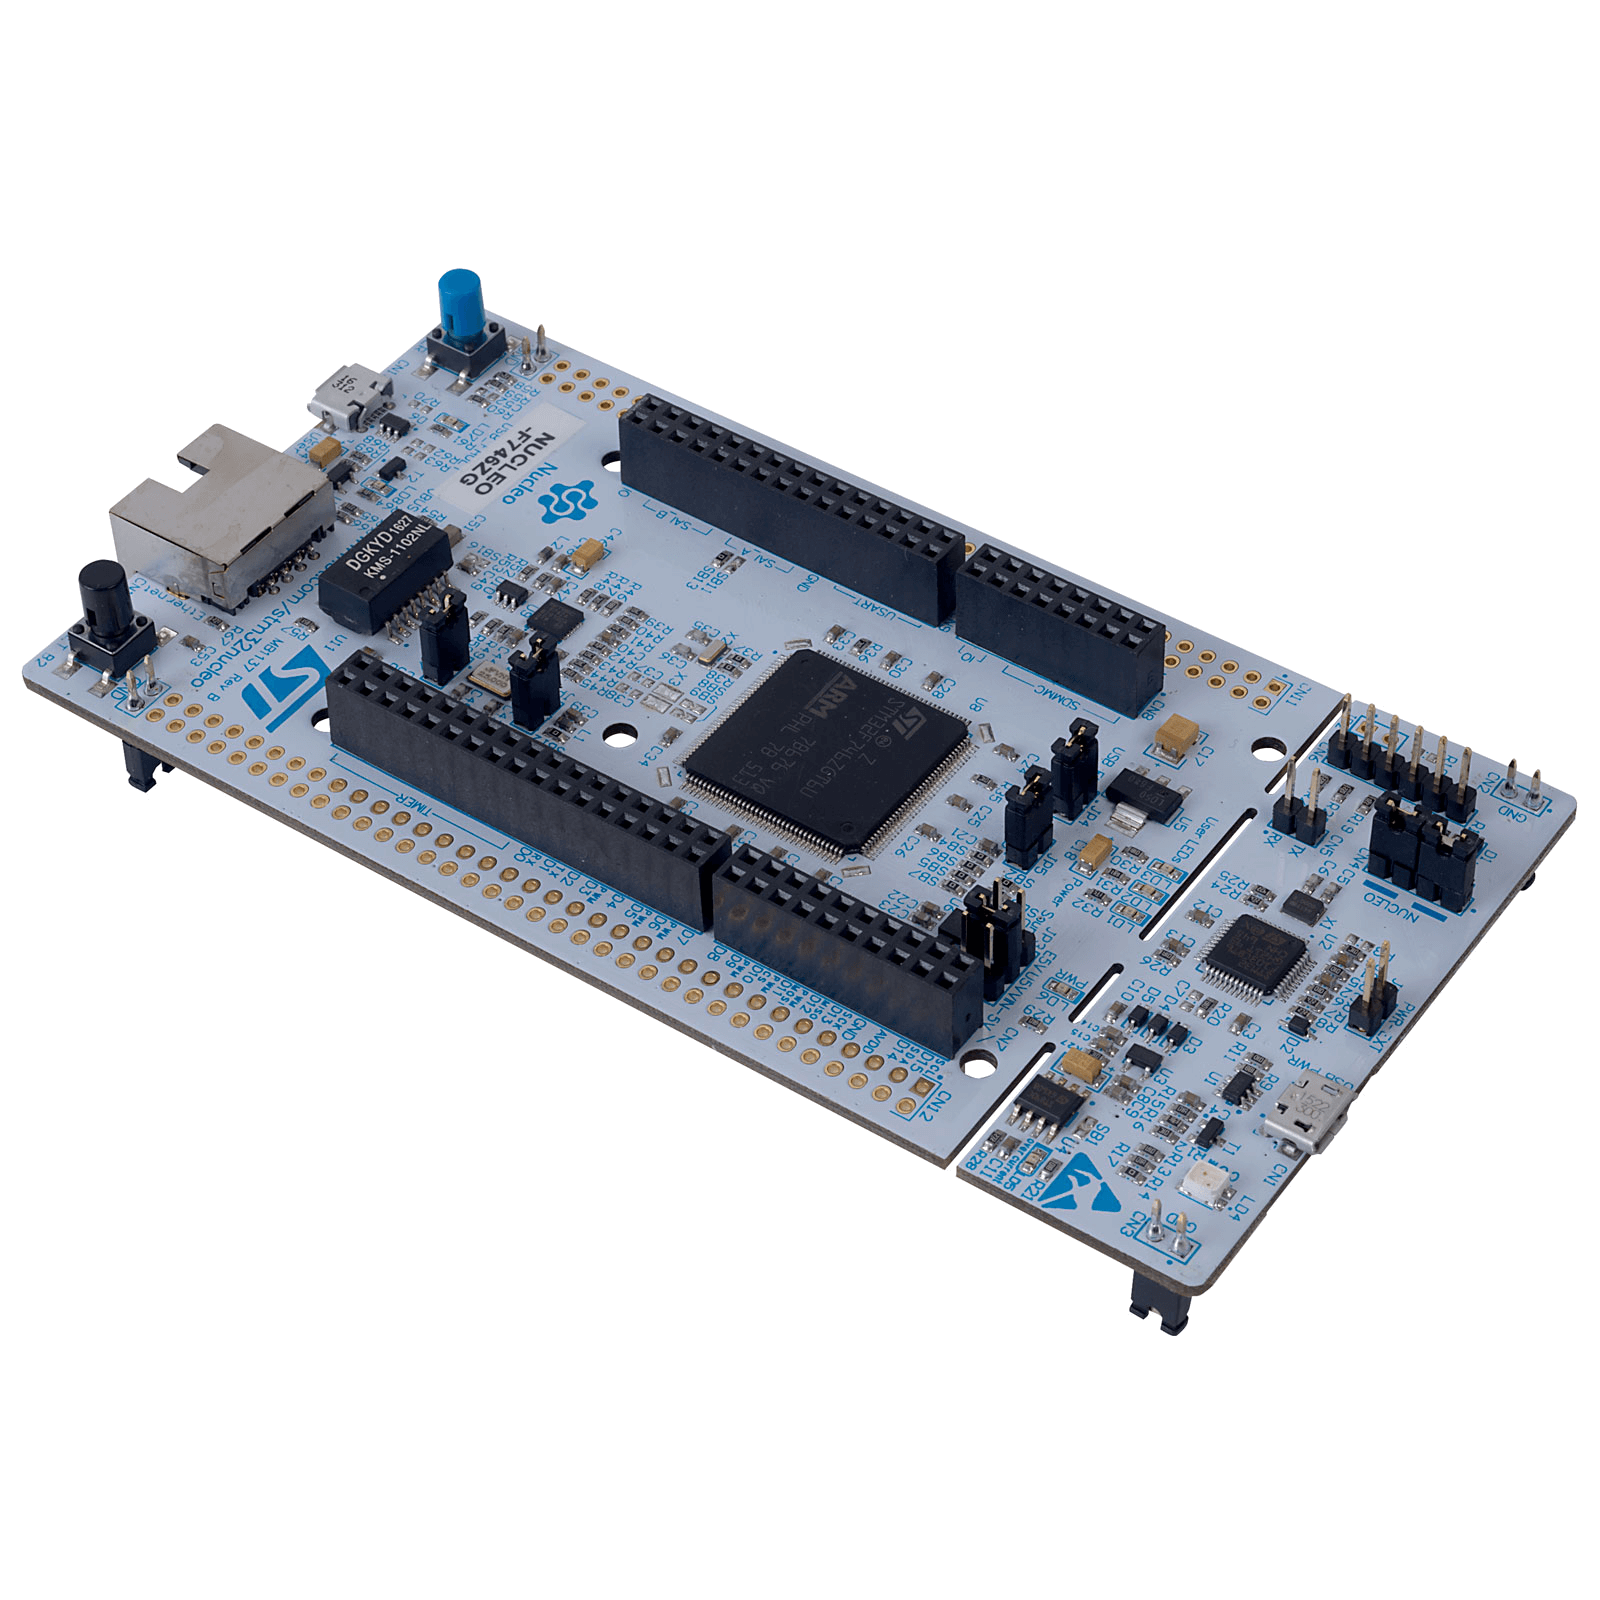
This project has been tested on the NUCLEO-F746ZG board with STM32CubeIDE v1.18.0, FreeRTOS v10.2.1 and LwIP v2.1.2. Check Supported platforms for more information.
Note
This guide might require adaptations to work with a different hardware, RTOS, network stack or STM32CubeIDE version.
In order to get support please contact support@eProsima.com.
Note
It is recommended to first read the Getting Started section to gain a better understanding of the basic concepts and terminology used in this section.
Project Configuration
This section describes how to configure an STM32CubeIDE project that uses the Safe DDS library. Start by opening or creating a new C++ project in STM32CubeIDE for the target device, and then follow the steps below in the order presented to ensure the project is set up correctly.
1. Configure FreeRTOS for Safe DDS
To configure FreeRTOS, set the following parameters in the STM32CubeIDE configuration window:
Enable FreeRTOS by choosing CMSIS v2 version in Pinout & Configuration > Middleware and Software Packs > FREERTOS.
Configure TOTAL_HEAP_SIZE and Safe DDS task’s stack size. 30 KB for the total heap and 3k words for the default task (our Safe DDS task) shall be sufficient for Safe DDS application.
Enable USE_NEWLIB_REENTRANT to use newlib reentrant functions.
2. Configure LwIP for Safe DDS
To configure LwIP, set the following parameters in the STM32CubeIDE configuration window:
Enable LwIP middleware in Pinout & Configuration > Middleware and Software Packs > LWIP.
Configure PBUF_POOL_BUFSIZE to MTU size. For the board used in this example, the MTU size is 1500.
By default Safe DDS will use UDP multicast operation, so LWIP_IGMP, LWIP_MULTICAST_TX_OPTIONS and SO_REUSE shall be enabled. Some of these options are found after showing advanced parameters.
By default, Safe DDS might require a send operation to be blocking so LWIP_SO_SNDTIMEO shall be enabled.
Configure the Driver_PHY, for this board it is LAN8742A.
3. Time Base Configuration
STM32CubeIDE might suggest using a HAL timebase source other than the Systick. To configure the timebase source to use the TIM1 peripheral, follow these steps:
Navigate to System Core > SYS > Timebase Source and select TIM1.
4. Add a New Source Folder for Safe DDS
To add the Safe DDS library to the project follow these steps:
In the Project Explorer, right-click on the project and select New > Source Folder. Name the folder something like Safe-DDS.
Navigate to the STM32CubeIDE support package folder and run the create_package.sh script followed by the path to the Safe DDS source release folder. This script generates the required files for a FreeRTOS + LwIP application on an STM32CubeIDE environment.
Copy the Safe DDS src and include generated folders to the folder previously created in the STM32CubeIDE project.
Move to the project properties and navigate to C/C++ Build > Settings > MCU/MPU G++ Compiler > Include Paths.
Add the path to the Safe DDS include folder.
Safe DDS application
After the project has been set up, the next step is to create a Safe DDS application:
1. Add the application files to the project
Navigate to the tutorial_stm32cubeide example folder.
Add the provided SafeDDSApp.cpp and LWIPSingleBufferTransport.cpp files to the Core/Src folder inside the application.
Add the provided SafeDDSApp.hpp, LWIPSingleBufferTransport.hpp and HelloWorldTypeSupport.hpp files to the Core/Inc folder inside the application.
2. Configure the Safe DDS Task
Once all necessary files are in place, modify the Safe DDS task in main.c.
Make the Safe DDS task wait until the device has an assigned IP address.
Then call safedds_app_init function, which creates a SafeDDSApp object and spins it forever.
An example of a Safe DDS entry point could be:
void safedds_app_init(const uint32_t);
void safedds_task(void *argument)
{
    // Wait until the device has an IP address
    // ...

    const uint32_t ip_addr = netif_default->ip_addr.addr;
    const uint32_t port = 8000;

    // Init Safe DDS app:
    safedds_app_init(ip_addr, port);
}
Running the application
Build the application in Release mode and flash it to the device. Run the Getting Started example in a local machine on the same network as the device. The console output should show messages similar to the following:
[DW: 0] Message: HelloWorld with index: 4
[DW: 16777217] Message: Hello World from STM32! with index: 1
[DW: 16777217] Message: Hello World from STM32! with index: 2
[DW: 0] Message: HelloWorld with index: 5
[DW: 16777217] Message: Hello World from STM32! with index: 3
[DW: 16777217] Message: Hello World from STM32! with index: 4
[DW: 0] Message: HelloWorld with index: 6
[DW: 16777217] Message: Hello World from STM32! with index: 5
[DW: 16777217] Message: Hello World from STM32! with index: 6
[DW: 0] Message: HelloWorld with index: 7
[DW: 16777217] Message: Hello World from STM32! with index: 7
[DW: 16777217] Message: Hello World from STM32! with index: 8